
I used to be so intimidated by the idea of canning and preserving food. It seemed like one of those arcane activities only hard-core country homesteaders take part in, like sewing your own clothes or raising chickens. With this covid-19 pandemic and more people planting victory gardens I feel more folks feel a desire to get back to their roots and to rediscover the simple human tasks that our grandparents performed every day.
Home canning is not as complicated as it may look. It’s simply applying heat to food in a closed jar, which interrupts the natural decaying that would otherwise take place. “Heat processing” foods involves:
· placing prepared food in canning jars which are then sealed with two-piece vacuum caps;
· processing the filled jars in boiling water for the stated time in order to destroy spoilage microorganisms and inactive enzymes; and
· cooling jars properly and allowing the lids to vent excess air to form a vacuum seal.
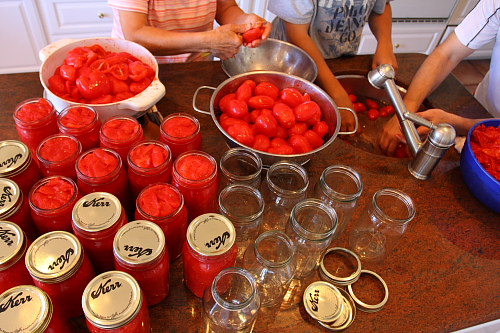
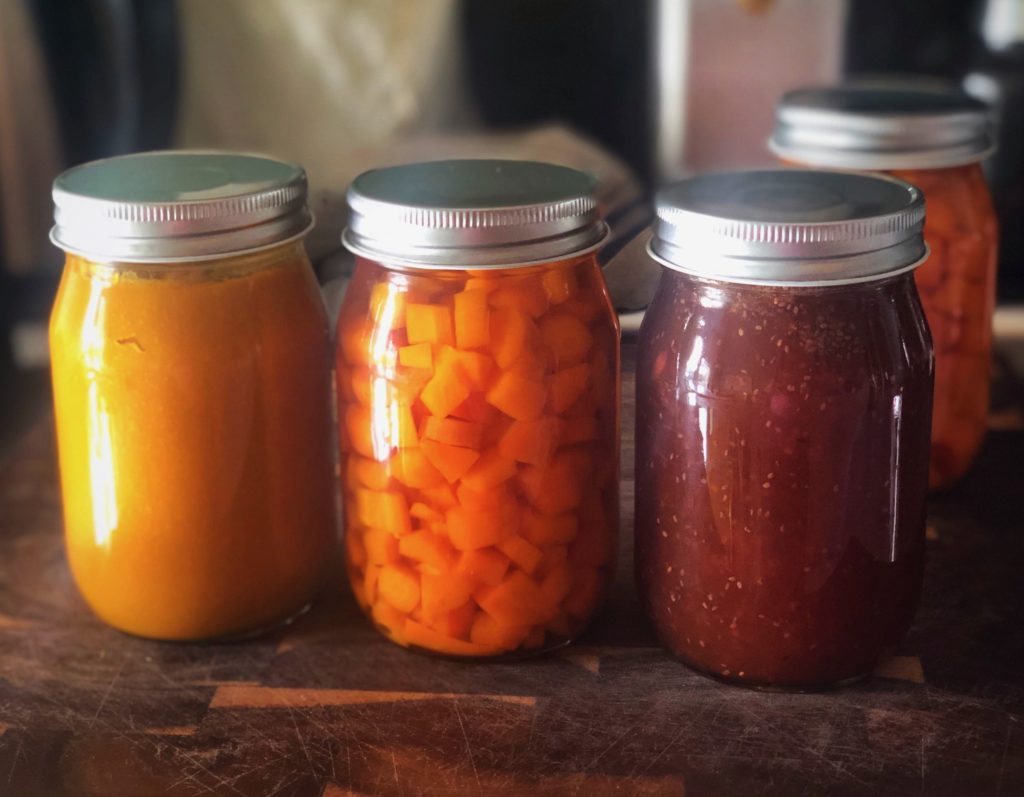
First, you’ll need to pick up some good canning jars with two-piece lids. I like Kerr brand; they’re inexpensive and usually available in grocery stores. Ball also makes quality jars in a variety of sizes. I also reuse jars from Classico brand pasta sauce. They have good lids with vacuum buttons. If you plan to make jams or jellies, pick up some fruit pectin as well. It’s usually right next to the jars. Pectin is a gelling agent that also helps preserve and even enhance the color and flavor of preserved fruits and vegetables.
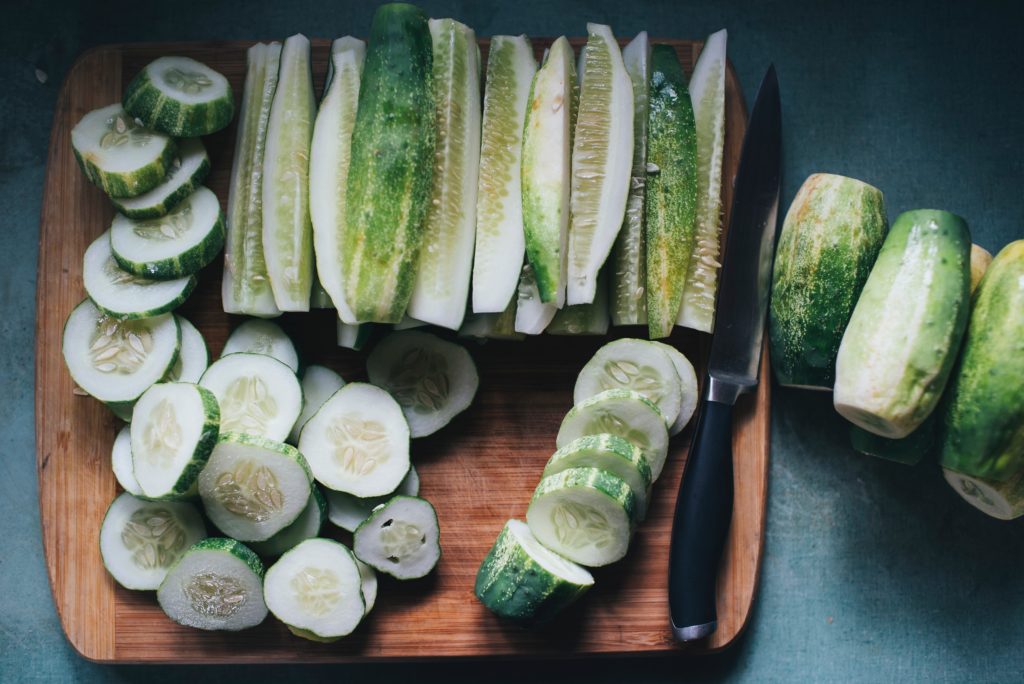
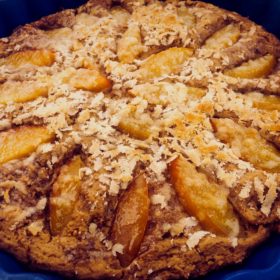
Wash the jars and lids thoroughly with hot water and soap. Set aside, submerged in a large pot of hot water (180°F), until ready to use. Prepare your chosen recipe. Easy things to start with could include pickles, sauerkraut, jams or jellies, applesauce, or simply macerated fruit in sugar like Gramma’s strawberries.
Remove the clean jars from the hot water and shake off excess water. Fill the jars with your recipe, leaving a ¼ to ½ inch of airspace at the top. Carefully wipe the tops of the jars clean with a damp cloth. Use a wooden or plastic (not metal) spoon to settle mixture and remove air bubbles. Screw on the lids tightly but not too tightly, about a quarter-turn past first resistance. They shouldn’t be as tight as possible.
Place jars back into hot water and bring to a simmer. The jars should be just submerged. A canning rack will keep the jars from touching the bottom of the pot, but I’ve never used one, and it’s worked just fine. Start timing 10 minutes from the time when the water comes to simmer. (I do 15 minutes because of the high altitude where I live.) After the time is up, turn off heat and let jars rest for 20 minutes. Carefully remove jars and set on wooden butcher block or layers of towels for 12 to 24 hours to rest. Jars should be at least an inch apart and not disturbed or subjected to drafts or other types of thermal shock. Don’t adjust the lids.
Frequently press down on lid buttons until buttons stay down. You may hear the lids “hiss” or “pop.” This should happen within an hour or two of removing the jars from the water but may take longer. When the lid buttons stay down, the lid is vacuum sealed and the food inside will remain shelf-stable until opened.
Remove rings and wash jars. Store in a cool, dry place. It’s best to keep the rings off for long-term storage. The rings can rust or mask a bad seal. Put them back on for transportation or gift-giving.
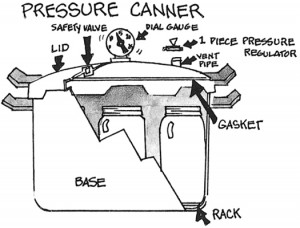
This method works well for most canning needs, especially for high acid foods. Low acid foods such as vegetables, meats, poultry,
and seafood as well assoups, stews, and sauces containing those foods will require a steam pressure canner. The bacterial spores and toxins produced by low-acid foods are destroyed by the higher temperature reached with this method. It’s not scary or difficult, either, but that’s a topic for Canning 201!
Trust me, the scariest part is simply jumping in and doing it. Once you’ve had your first success, though, canning won’t seem complicated or difficult anymore. Instead, you’ll be looking for new foods to put up!


Green Mom
I got to try that pressure canner:)